


Challenge coins have evolved from military tradition into powerful symbols of achievement, unity, and recognition across organizations worldwide. Whether you’re honoring team members, commemorating an event, or building brand loyalty, designing your own challenge coin is more accessible than ever.
Understanding Challenge Coins Before You Start
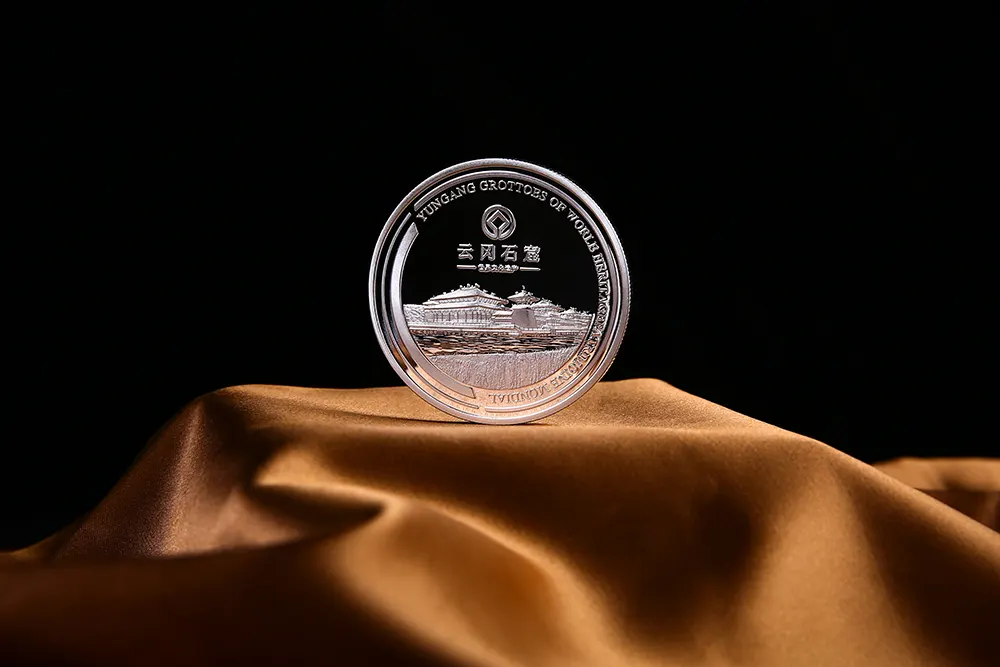
Before diving into the design process, it’s helpful to understand what makes challenge coins special. These small metal medallions typically measure 1.5 to 2 inches in diameter and feature custom artwork on both sides. They’re tangible tokens of belonging that people genuinely treasure and carry with them.
The beauty of modern challenge coins lies in their versatility. You can create coins for corporate recognition programs, sports teams, nonprofit fundraisers, wedding parties, or any group that shares a common bond. The key is making your design meaningful to the recipients.
Planning Your Challenge Coin Design
When I first set out to create challenge coins for our community organization, I made the mistake of jumping straight into design software without thinking through what the coin should represent. After several false starts, I learned that successful coin design begins with planning.
Define Your Purpose and Message
Start by asking yourself what story this coin should tell. Is it celebrating an achievement? Marking a milestone? Building team identity? Your purpose will guide every design decision that follows.
Consider your audience carefully. A coin for military veterans will have different design elements than one for a tech startup or youth sports team. Think about what symbols, colors, and language will resonate with the people who’ll receive it.
Gather Your Design Elements
Make a list of elements you want to include:
Organization name or motto
Logos or emblems
Relevant dates or numbers
Symbolic imagery that represents your group
Text or quotes that capture your message
Remember that challenge coins have limited space. Prioritize the most important elements and resist the urge to overcrowd your design. Clean, bold designs typically work better than busy ones on small surfaces.
How to Design Your Challenge Coin Step by Step
Choose Your Coin Specifications
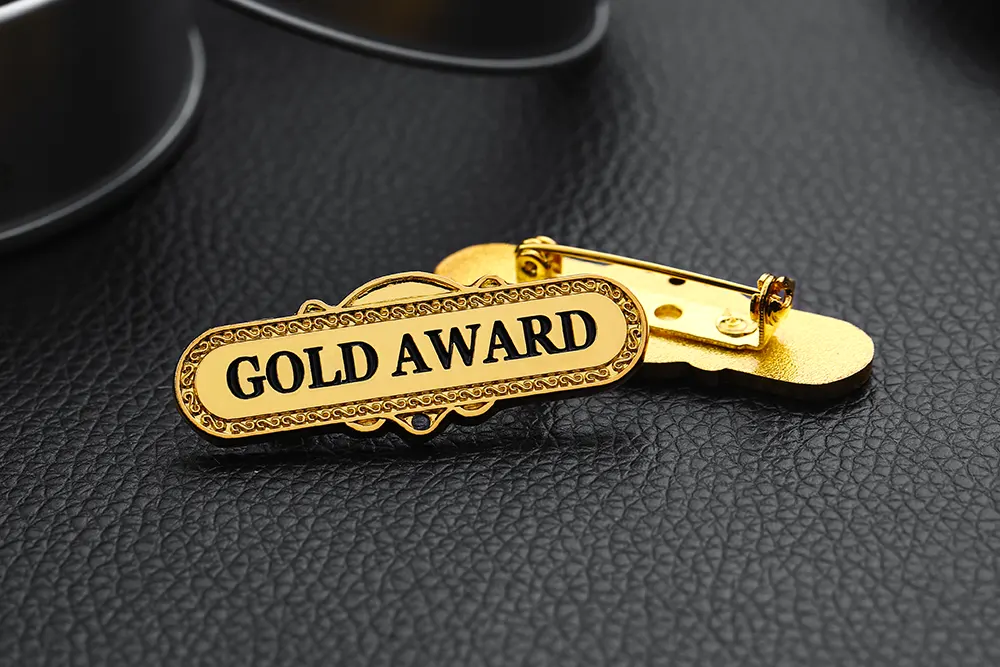
Before sketching designs, decide on the practical aspects of your coin. Standard round coins are classic, but you can also explore custom shapes that reflect your theme. Consider the size based on your budget and how people will carry the coin.
Select a metal finish that matches your vision. Antique gold, silver, and bronze finishes give a traditional military look. Polished finishes appear more modern and corporate. Dual-tone plating can add visual interest by combining two metal colors.
Create Your Initial Sketch
You don’t need to be an artist to sketch your ideas. Simple pencil drawings help you visualize the layout and proportion of elements. Draw a circle representing your coin and arrange your chosen elements within it.
Think about both sides of the coin. The front typically features the primary logo or emblem, while the back might include a motto, dates, or additional imagery. Some designers create matching sides, while others prefer contrasting designs that tell different parts of the story.
Consider Design Techniques
Challenge coins use several production techniques that affect how your design looks:
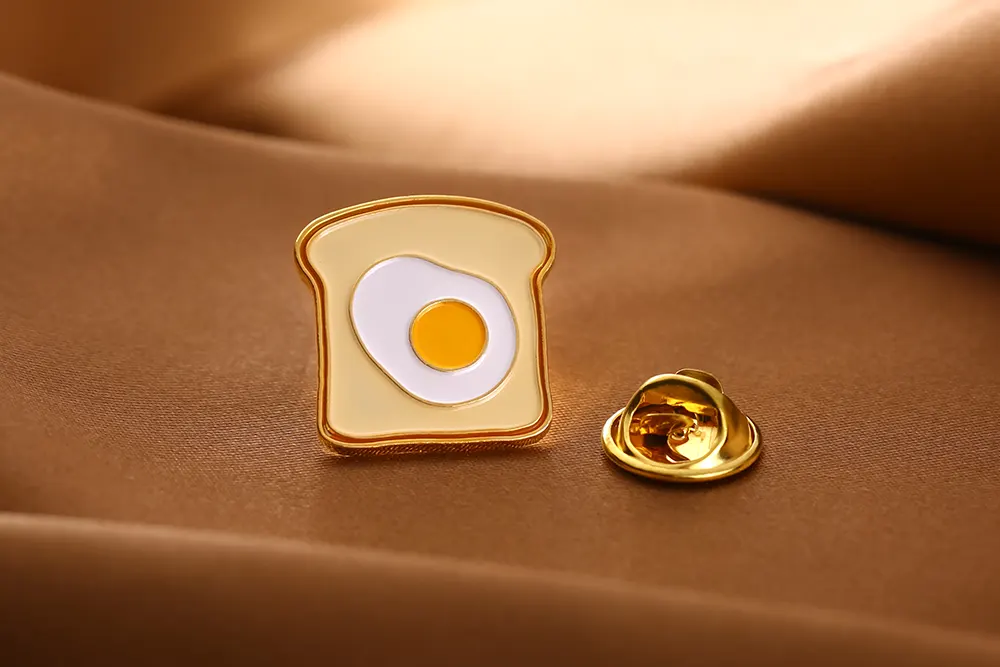
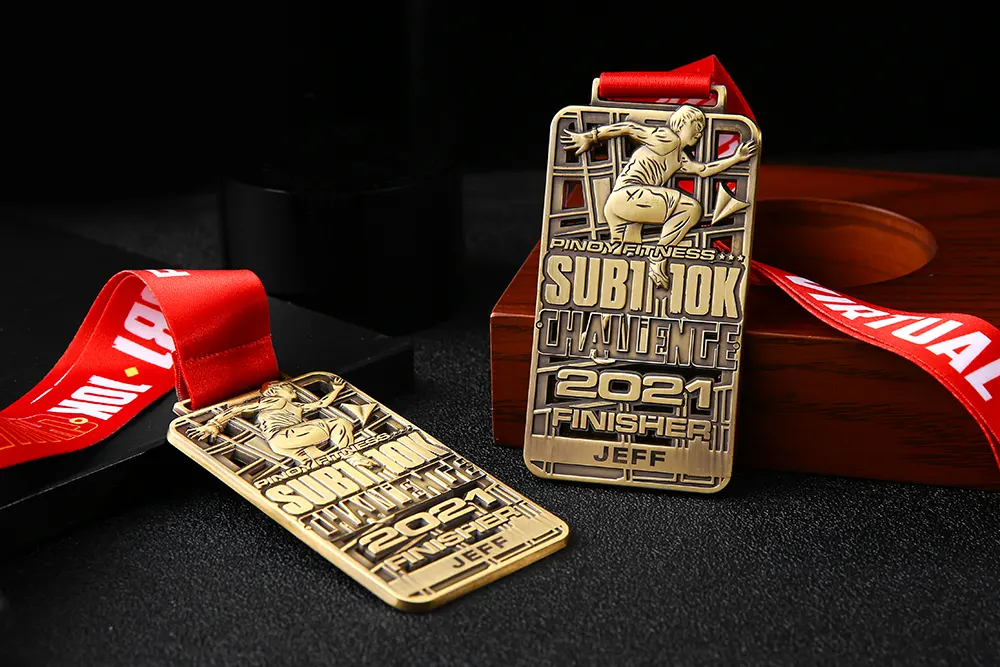
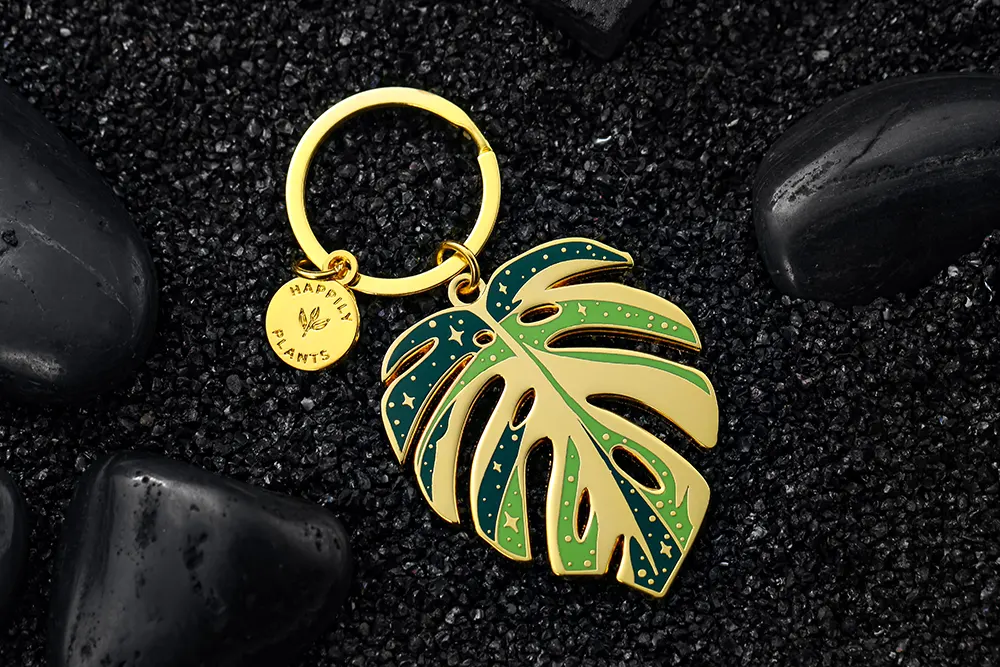
3D Molding: Creates raised and recessed areas for a sculptural effect. This works beautifully for emblems, portraits, and detailed imagery.
Color Enamel: Adds vibrant colors to specific areas of your design. Soft enamel sits slightly recessed, while hard enamel is polished flush with the metal for a smooth finish.
Edge Design: The coin’s edge can be rope-style, cross-cut, spur-cut, or oblique line-cut. Each style adds a different finishing touch.
Cutouts: Some designs incorporate holes or cutout shapes within the coin itself, creating unique silhouettes.
Building Your Coin Design Online
Today’s technology makes it remarkably simple to bring your challenge coin vision to life without specialized design skills. Many manufacturers offer online design tools that let you build your coin visually.
Using Online Design Tools
Most online coin designers work similarly. You’ll select a template or shape, then add your text, upload logos or images, and choose colors and finishes. These tools show you a preview of what your finished coin will look like.
When uploading artwork or logos, use high-resolution images. Vector files like AI or EPS work best for crisp, clean results. If you only have raster images like JPG or PNG, make sure they’re at least 300 DPI to avoid pixelation.
Don’t forget to design both sides. Use the online tool to experiment with different layouts until you find the combination that feels right. Save multiple versions so you can compare options.
Working with Professional Designers
If you want more complex artwork or lack design confidence, most challenge coin manufacturers offer free design services. You provide your ideas, reference images, and text, and their design team creates professional artwork for your approval.
This collaborative approach often produces the best results. The designers understand the technical limitations of coin production and can optimize your concept accordingly. They’ll create digital proofs showing exactly how your coin will look before production begins.
Making Your Challenge Coin Dreams Reality
Reviewing Your Proof
Once you have a design, whether you created it yourself or worked with a designer, you’ll receive a digital proof. Review this carefully. Check spelling, alignment, proportions, and overall appearance. This is your last chance to make changes before production.
Share the proof with trusted colleagues or team members. Fresh eyes often catch things you might have missed. Pay special attention to small text, which can be difficult to read on actual coins if the font size is too small.
Understanding Production and Costs
Challenge coins are typically priced on a sliding scale based on quantity. Ordering more coins reduces the per-unit cost significantly. Most manufacturers have minimum orders, often starting around 50 or 100 pieces.
Factors that influence pricing include coin size, metal type, number of colors, special finishes, and design complexity. Basic designs cost less than coins with multiple colors, cutouts, or special effects like glitter enamel or glow-in-the-dark features.
Production typically takes three to four weeks from approved proof to delivery, though rush services are often available for urgent needs.
Tips for Creating Memorable Challenge Coins
Keep Text Readable
One common mistake is using text that’s too small or too thin. Remember that challenge coins are small objects. Text smaller than 6 points becomes difficult to read. Choose bold, clear fonts over decorative scripts when possible.
Balance Detail and Simplicity
While intricate designs can look stunning, they need adequate size to show properly. If you’re working with a smaller coin, simplify your design accordingly. Bold, clear imagery often makes more impact than overly detailed artwork that becomes muddy when miniaturized.
Use Color Strategically
Each color adds to the cost, so choose your palette thoughtfully. Many effective designs use just two or three colors plus the metal base. High contrast between colors and metal creates striking visual appeal.
Think About Symmetry
Balanced designs generally look more professional and polished. While asymmetrical layouts can work for artistic effects, symmetrical arrangements tend to feel more complete and authoritative.
Common Questions About Creating Challenge Coins
What if I’m not artistic?
You don’t need artistic skills to create great challenge coins. Start with clear ideas about what you want to communicate, gather reference images that inspire you, and work with a manufacturer’s design team to bring your vision to life.
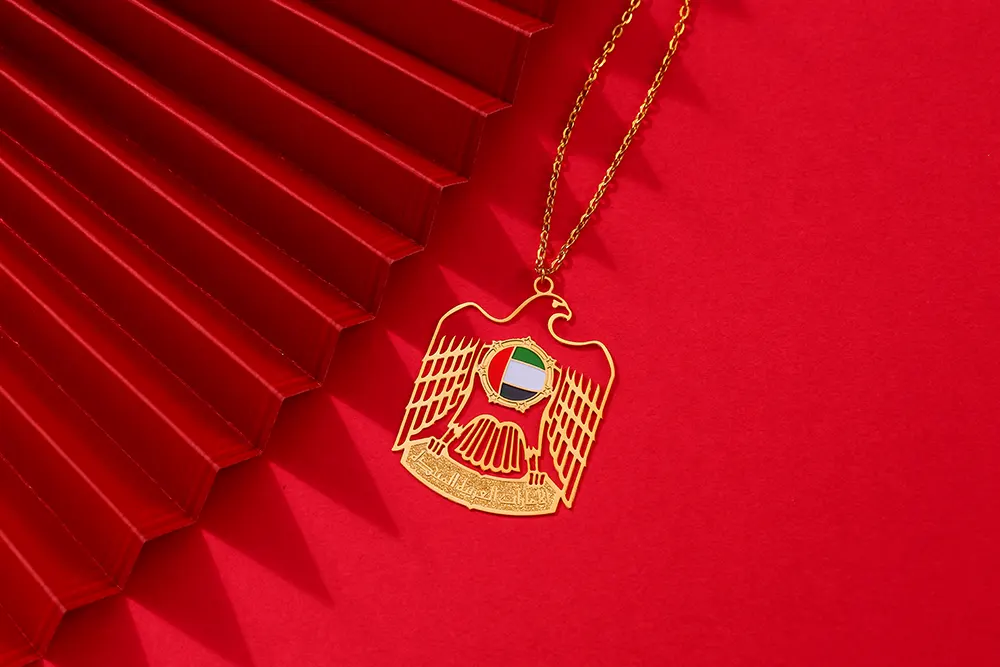
Can I include photographs?
Yes, though photographs need to be converted into appropriate formats for coin production. High-contrast images work best. Your manufacturer can help determine if your photo will translate well to a coin design.
How do I protect my design?
Reputable manufacturers respect your intellectual property. If you’re concerned about design security, ask about non-disclosure agreements before sharing your artwork. Most established companies have standard policies protecting customer designs.
Getting Started with Your Custom Coin Project
Creating your own challenge coins is an exciting process that results in tangible symbols of achievement and belonging. Start by clarifying your purpose and gathering your design elements. Whether you build your design online using manufacturer tools or collaborate with professional designers, focus on creating something meaningful to your recipients.
The coins you create will likely be kept for years, carried in pockets and displayed on desks. That’s the true power of a well-designed challenge coin—it becomes a cherished keepsake that tells a story and strengthens connections among the people who receive it.
Take your time with the design process, seek feedback before finalizing, and work with manufacturers who offer design support and clear communication throughout production. With thoughtful planning and attention to detail, you’ll create challenge coins that people are genuinely proud to own and share.