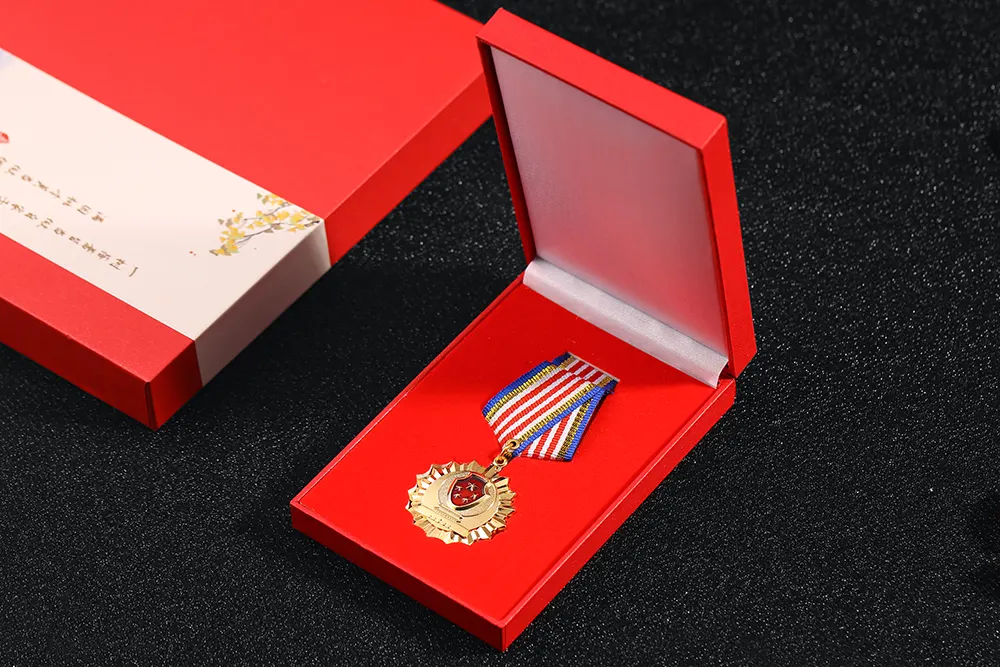
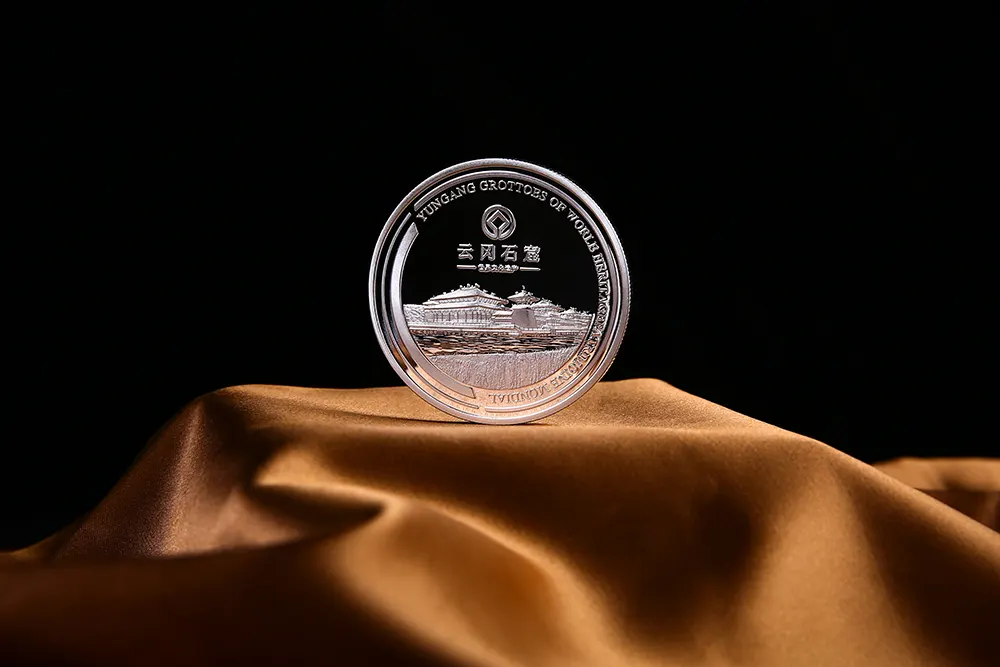
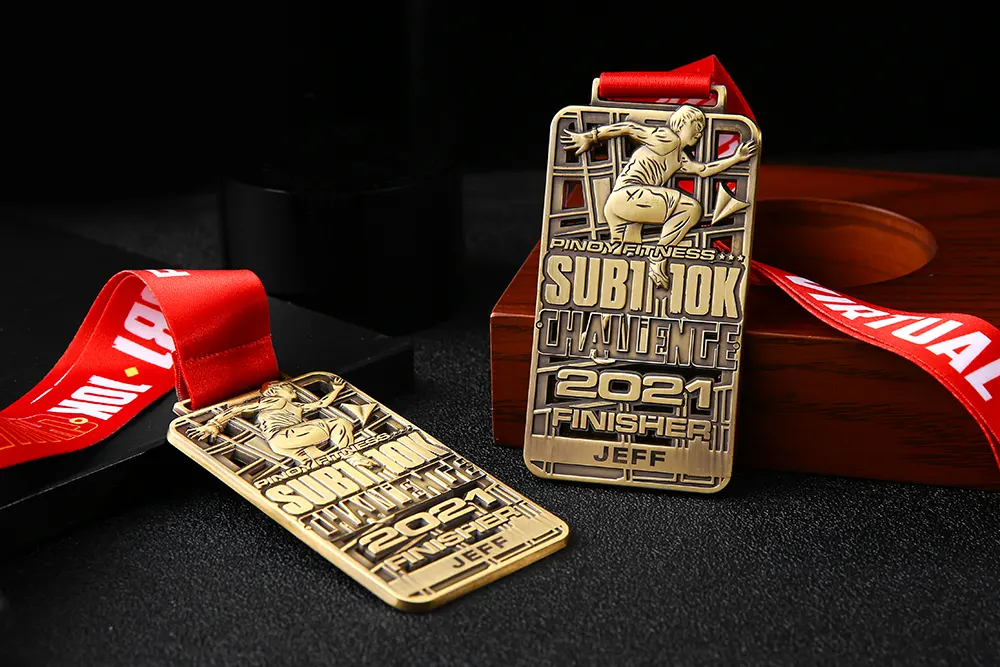
Every medal tells a story of dedication, perseverance, and achievement. Whether you’re a marathon runner, triathlete, or weekend 5K enthusiast, those hard-earned medals deserve more than being stuffed in a drawer. Creating your own medal display is not only a budget-friendly solution but also a meaningful way to celebrate your accomplishments and stay motivated for future races.
Why Create Your Own Medal Holder?
Commercial medal displays can be expensive and often lack the personal touch that makes them truly special. When you build your own medal hanger, you’re not just saving money—you’re creating a customized piece that reflects your personality and perfectly fits your space. Plus, the process of building it yourself adds another layer of accomplishment to your collection.
After completing my first half-marathon three years ago, I found myself with a growing collection of medals and nowhere to put them. I tried hanging them on doorknobs and hooks, but they looked cluttered and unorganized. That’s when I decided to build my first homemade medal display using reclaimed wood from an old fence. The project took just a few hours, cost under twenty dollars, and transformed my medals from hidden memorabilia into an inspiring wall feature that greets me every morning.
Planning Your Medal Display
Before you start building, take inventory of your current medal collection and estimate how many more you’ll earn in the coming years. A well-designed display should have room to grow. Consider where you’ll hang it—bedroom, home gym, hallway, or office—as this will influence the size and style you choose.
Think about the aesthetic you want to achieve. Do you prefer a rustic wooden look, a modern minimalist design, or something more decorative? Browse inspiration on Pinterest or running community forums to gather ideas, but remember that the best displays are those that reflect your personal style.
Materials You’ll Need
The beauty of a DIY medal rack is that you can work with materials you already have or find inexpensively at hardware stores and craft shops. Here are the basic materials for most projects:
For wooden displays, you’ll need a piece of wood (pine boards, plywood, or reclaimed barn wood work well), sandpaper or a sanding block, wood stain or paint in your preferred color, and a clear sealant to protect the finish. You’ll also need hooks or dowel rods to hang the medals, screws or nails for assembly, a drill with appropriate bits, and mounting hardware for wall installation.
If you’re working with alternative materials, consider options like metal pipes for an industrial look, shadow boxes for a three-dimensional display, or even repurposed items like old picture frames or wooden hangers.
Simple Wooden Medal Hanger Tutorial
One of the most popular and straightforward designs is a wooden board with hooks or a dowel rod. Start by cutting your wood to the desired length—typically between 24 to 36 inches, depending on your collection size. Sand all surfaces thoroughly, paying special attention to edges to prevent splinters.
Apply your chosen stain or paint, following the manufacturer’s instructions for drying times. Most projects benefit from two coats. Once dry, apply a clear sealant to protect the wood from dust and moisture.
Decide on your hanging method. For hooks, measure and mark evenly spaced points across the board—usually 2 to 3 inches apart. Pre-drill small pilot holes to prevent the wood from splitting, then screw in your hooks. For a dowel rod approach, drill two holes near the top edge of the board, thread the dowel through, and secure it with wood glue or small nails.
Add any personal touches such as vinyl lettering with motivational quotes, painted designs, or burned text using a wood-burning tool. Popular phrases include “The Miles Earned These,” “Pain is Temporary, Pride is Forever,” or simply “Finisher.”
Finally, attach mounting hardware to the back of your display. D-ring hangers or keyhole slots work well for heavier pieces, while simple picture hanging wire suffices for lighter displays.
Creative Design Ideas for Race Medal Displays
The Map Display
For runners who travel to different races, consider creating a map-based display. Mount a large map of your state, country, or the world on a backing board, then add small hooks or pins at the locations where you’ve completed races. Hang the corresponding medals near each location for a visual representation of your running journey.
The Shadow Box Collection
Shadow boxes offer depth and dimension to your medal display. Arrange medals in a shadow box along with race bibs, photos from race day, and other memorabilia. This creates a three-dimensional memory capsule that tells the complete story of your racing experiences.
The Multi-Tier Display
If you have an extensive collection, consider building a multi-level display with several horizontal bars at different heights. This creates visual interest and allows you to organize medals by year, race type, or distance.
The Rustic Ladder
Repurpose an old wooden ladder by sanding it down and staining it. Lean it against the wall and hang medals from the rungs. This approach works particularly well in homes with farmhouse or industrial decor.
The Running Route Silhouette
For a truly personalized touch, cut your display board into the shape of your favorite running route or your state’s outline. This unique approach combines personal meaning with functional design.
Tips for Making a Professional-Looking Medal Holder
The difference between a homemade project that looks amateur and one that appears professionally made often comes down to attention to detail. Always measure twice and cut once—precision in spacing and alignment creates a polished appearance.
Take your time with sanding. Smooth surfaces and rounded edges not only look better but are also safer and more pleasant to handle. Don’t skip the sealing step, as unsealed wood can absorb moisture and warp over time.
When installing hooks, ensure they’re rated for the weight they’ll hold. Race medals can be surprisingly heavy when accumulated. Test your display with a few medals before hanging it to ensure the hooks are secure and properly spaced.
Consider the visual balance of your design. If you’re adding text or decorative elements, sketch out your layout on paper first or use painter’s tape to temporarily position elements before making them permanent.
Budget-Friendly Alternatives and Upcycling Ideas
You don’t need to spend much money to create an impressive medal display. Scrap wood from old furniture, pallets, or construction projects can be transformed into beautiful displays with minimal investment. Just ensure any reclaimed wood is properly cleaned and treated.
Check thrift stores for items that can be repurposed. Old shutters, window frames, or decorative molding can become unique medal hangers with just a bit of creativity. Picture frames can be modified by removing the glass and adding hooks to the backing.
Hardware stores often have remnant pieces of wood or materials they sell at discount. These smaller pieces are perfect for medal display projects and cost significantly less than full-size boards.
Maintaining and Updating Your Display
Once your medal display is complete and mounted, occasional maintenance will keep it looking great. Dust medals regularly with a soft cloth to prevent tarnish and buildup. If medals become tarnished, most can be gently cleaned with a mixture of mild soap and water, though always check the material first as some finishes are delicate.
As your collection grows, you may need to expand your display. Plan for this from the beginning by either leaving space for additional hooks or designing a modular system where you can add additional boards alongside your original.
Consider rotating your medals seasonally or by achievement type if you run out of space. Keep a storage box for medals that aren’t currently on display, and swap them out periodically to keep your display fresh and relevant.
Inspiring Others with Your Achievements
A well-crafted medal display does more than organize your awards—it serves as a conversation starter and a source of inspiration for others. When guests ask about your display, you have the opportunity to share your running journey and perhaps encourage someone else to pursue their own fitness goals.
For families with young athletes, creating a shared medal display can foster healthy competition and mutual support. Dedicate sections of the display to different family members, or create individual displays that hang together as a collection.
Many runners find that seeing their medals displayed prominently helps maintain motivation during training slumps. On difficult mornings when the alarm goes off for an early run, a glance at your achievement wall can provide the push needed to get out the door.
Safety Considerations
When building and installing your medal display, keep safety in mind. Always wear safety glasses when cutting or drilling wood, and work in a well-ventilated area when using stains, paints, or sealants.
Ensure your display is securely mounted to wall studs, especially if it will hold many medals. Use appropriate anchors if studs aren’t available in your desired location. A falling display can damage walls and potentially cause injury.
If children will be near the display, make sure all edges are smooth and hooks are positioned high enough to prevent accidents. Consider using rounded hooks rather than sharp ones for added safety.
Taking Your Project to the Next Level
Once you’ve mastered the basics, there are countless ways to enhance your medal display. Add LED strip lighting behind or above the display to create a dramatic effect that highlights your achievements. Integrate small shelves to display race photos, finisher certificates, or your race bib collection.
Some runners incorporate technology by adding a digital photo frame that cycles through race day photos or embedding QR codes that link to race results or blog posts about specific events.
For those with woodworking skills, consider adding decorative elements like routed edges, carved details, or inlay work that reflects running themes such as shoe prints, finish line ribbons, or mile markers.
Final Thoughts
Creating your own medal display is a rewarding project that combines practical function with personal expression. Whether you choose a simple wooden board with hooks or an elaborate multi-tiered creation, the result will be a unique piece that celebrates your dedication and achievement. If you are looking for custom-made medals and medallions to enhance your display, there are manufacturers that can craft personalized pieces for any event.
The time you invest in building your display becomes part of the story behind those medals. Each time you add a new medal to your homemade rack, you’re not just acknowledging a race completed—you’re adding to a living testament of your commitment to health, challenge, and personal growth.
Start simple if you’re new to DIY projects. A basic design can always be upgraded or expanded as your skills and collection grow. The most important thing is to create something that makes you proud and keeps you motivated for the next race. Your medals represent hours of training, moments of doubt overcome, and finish lines crossed. They deserve a display that honors those achievements while inspiring future ones.


