Blog de Artesanato em Metal
When a procurement manager, distributor or event organizer asks a custom metal pin maker for a quote, the price and the final look both depend on a short list of specification choices: the base metal, how the shape is formed, the plating, the enamel type, the backing and the physical size. Most disputes on pin orders do not come from bad factories. They come from a specification sheet that left one of these decisions open, so each side assumed something different.
This guide walks through how a metal pin is actually made and which decisions you control at each stage. It is written for wholesale buyers who need consistent results across hundreds or thousands of pieces, not for one-off hobby orders. If you are comparing suppliers rather than specifications, treat this as the technical checklist you bring to those conversations.
How a Metal Pin Is Made: The Short Version
Every custom lapel pin follows the same basic chain, whatever the finish:
- Artwork is converted into a mold design. The logo or illustration is redrawn as vector lines, and the raised metal lines and recessed areas are defined.
- A tool is made. For stamped pins this is a steel die; for cast pins it is a mold.
- The metal body is formed. Sheet metal is pressed, or molten alloy is cast.
- The edges are trimmed and the pin is polished or textured.
- Enamel colors are filled into the recessed areas, if the design uses color.
- Plating is applied, in a color chosen to suit the design.
- The backing is attached, and the pin is inspected and packed.
The order of plating and enamel changes depending on the pin type (hard enamel pins are polished flat after filling, which affects when plating happens), but the principle is the same: geometry first, color second, finish last. Decisions made early are the hardest and most expensive to reverse, so the sections below follow that order.
Step 1: Choose the Base Metal
The base metal sets the weight, the detail level, the durability and the cost range of the pin. The four materials you will see quoted most often are brass, copper, zinc alloy and iron.
| Base metal | Typical process | Where it fits | Points to check |
|---|---|---|---|
| Latão | Estamparia | Hard enamel and fine-line soft enamel pins; premium corporate and association pins | Takes plating well and holds sharp lines; good general-purpose choice |
| Cobre | Estamparia | Similar to brass; often chosen for jewelry-grade finishes and polished hard enamel | Softer metal; very fine lines can be pressed cleanly |
| Liga de zinco | Die casting | 3D shapes, cut-out designs, deeper relief, irregular outlines | Allows sculpted surfaces; confirm plating quality on the finished body |
| Ferro | Estamparia | Cost-sensitive, large-volume promotional pins | Magnetic; needs reliable plating to resist rust; less suited to long-term wear |
A few practical notes from the buyer’s side:
- “Brass” should be written on the quote. If a quote only says “metal,” ask which one. Material is one of the first places where a low quote can differ from a higher one.
- Iron is not automatically a bad choice. For a short-term event giveaway, iron with good plating is a reasonable trade-off. For a pin meant to be worn for years or sold at retail, brass or copper is the safer recommendation.
- Magnets behave differently. If your pin uses a magnetic backing (see below), an iron body can interfere with how the magnet sits and holds. Discuss this before choosing the base metal.
Step 2: Stamping vs. Casting
This is the most consequential process decision, and it is often decided for you by your design.
Stamping (die striking). A sheet of brass, copper or iron is pressed under high force between hardened steel dies. The pressure pushes metal into the engraving, producing crisp raised lines and a flat, uniform surface. Stamped pins suit designs with clear outlines, text and flat color areas. They are the standard route for pinos cunhados and for most hard enamel work.
Casting. Molten zinc alloy is poured or injected into a mold and cooled. Casting can create rounded forms, multi-level surfaces and openings that are hard to achieve by stamping. The trade-off is that the surface of a cast pin can need more finishing attention, and very thin sections require careful design to avoid weak points.
How to decide:
- Flat logo, text-heavy, or a design where crisp lines matter: stamping.
- Sculpted character, layered 3D relief, multiple internal cut-outs: casting is often the more natural fit, though a skilled maker may be able to approximate relief with stamping and sandblasting.
- Uncertain: send the artwork with your intended use (wearing, selling, gifting) and ask the maker to recommend one method and explain why.
Step 3: Pick the Plating Color
Plating is the metallic color you see on the raised lines. It is applied to the finished pin body and protects the base metal.
Common options include:
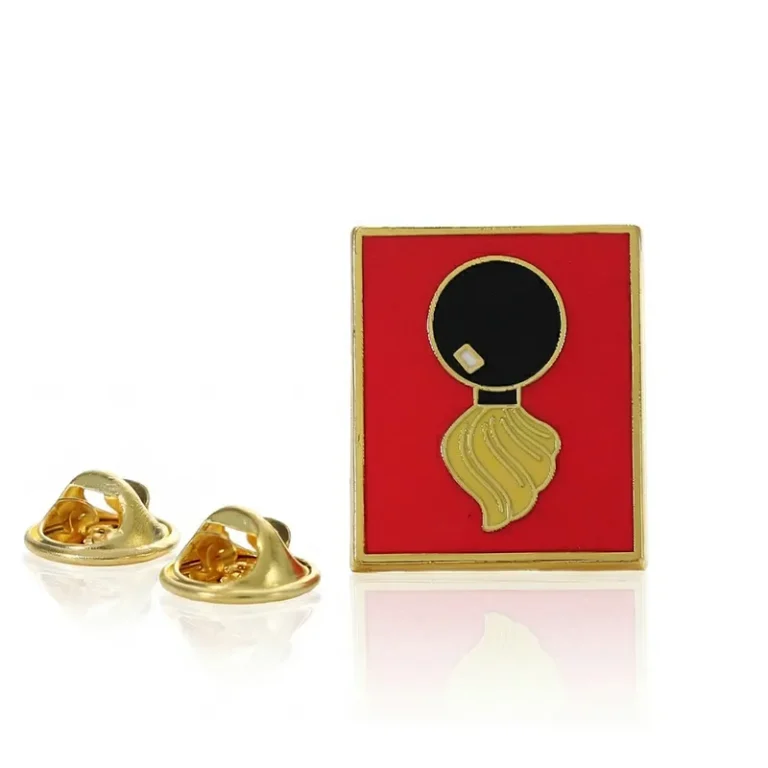
- Ouro: the classic choice for corporate, association and commemorative pins.
- Silver or nickel: a cooler, modern look; common for technology and institutional branding.
- Antique finishes (antique gold, antique silver, antique copper): the surface is darkened in recesses to emphasize relief. Useful for historical or heraldic designs.
- Black nickel: a dark metal that makes bright enamel colors stand out.
- Copper and bronze tones: suited to vintage and craft-style themes.
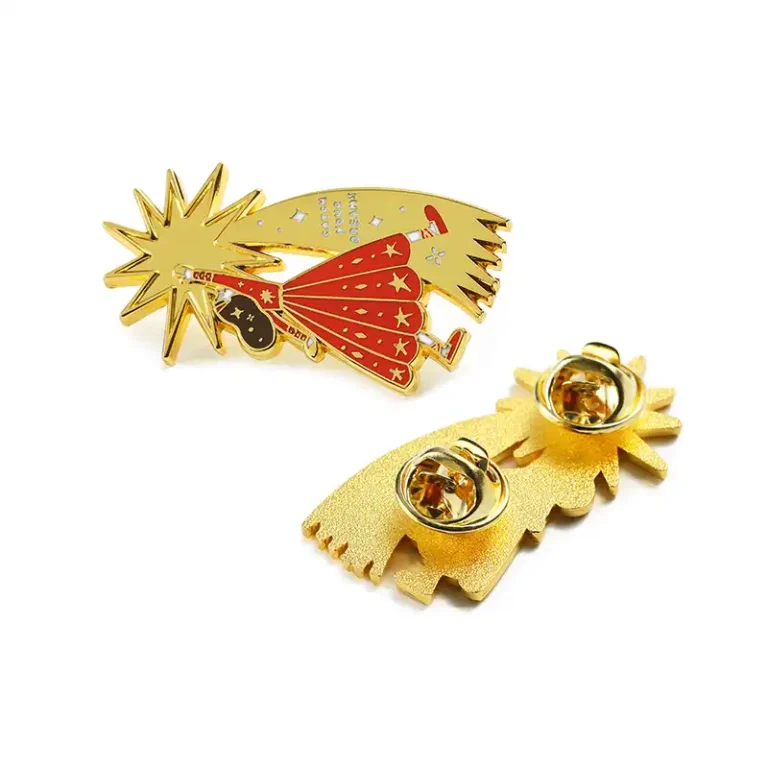
- Dual-tone or mixed plating: different plating on different areas of the same pin. This adds process steps, so confirm feasibility with your maker for the design.
Two plating mistakes to avoid. First, choosing a plating color that visually clashes with the enamel palette: gold lines around cool blues and greens look very different from silver lines around the same colors. Ask for a digital proof in each plating option. Second, assuming all gold is the same: bright gold, matte gold and antique gold are different finishes. Name the finish, not only the color.
Step 4: Select the Enamel Fill
Enamel type changes the feel of the pin as much as its appearance. For a full overview of every type, see our guide to the 5 main types of enamel pins. The two you will most often choose between are:
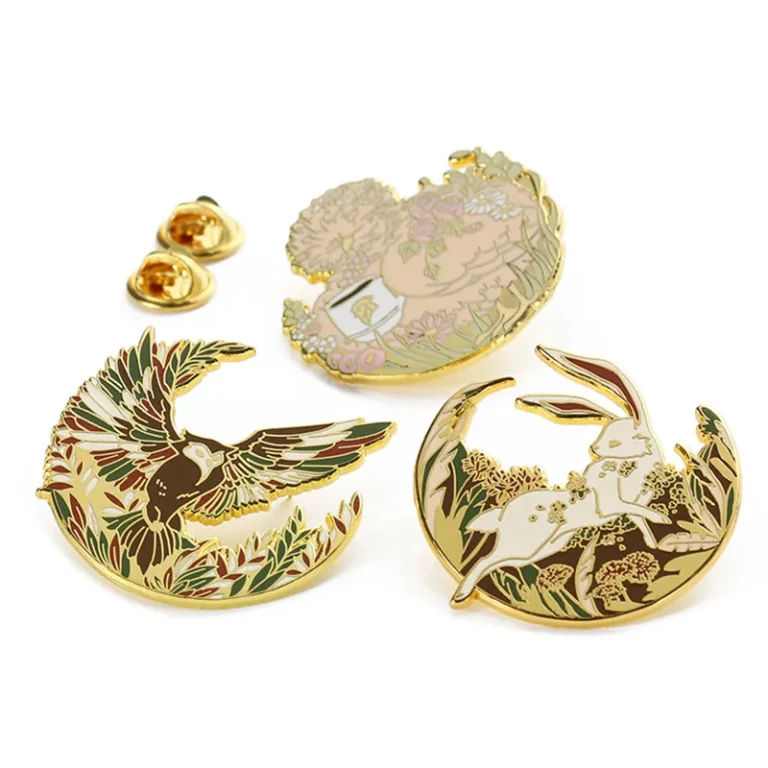
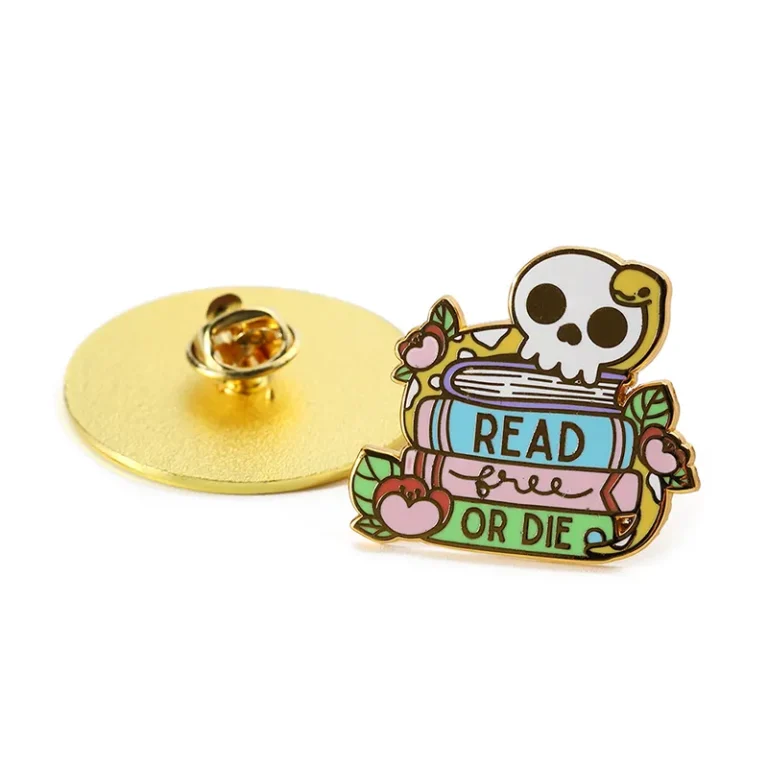
Pinos de esmalte macio. Color is filled into recessed areas and left slightly below the raised metal lines. You can feel the texture of the metal lines under your finger. This type is well suited to bold designs, larger volumes and budgets that need practical efficiency. An optional clear epoxy dome can be added for a smooth, glossy surface.
Pinos de esmalte duro. The enamel is filled to the level of the metal lines and polished flat. The result is a smooth, jewelry-like surface that wears well. This type is common for corporate recognition, association membership and premium merchandise.
Other specification points for enamel:
- Color matching. Give Pantone references for brand colors. Without a reference number, “royal blue” is open to interpretation. Remember that enamel is a different medium from ink on paper or a screen, so small differences are normal and a physical sample is the final check.
- Adjacent colors. Each color area must be separated by a metal line. If your artwork has colors blending into each other, such as gradients, the maker will need to reinterpret the design with metal dividers or choose a different technique.
- Special effects. Glitter, translucent, glow-in-the-dark and similar enamels are available, and each should be called out in the specification. Make sure the effect is actually visible at the final pin size.
- Open metal areas. Not every area needs enamel. Leaving polished or textured metal exposed can look more refined than filling every recess.
Step 5: Specify the Backing
The back of the pin determines how it behaves in use and how it survives packing and shipping. The common choices:
- Butterfly clutch (metal): the standard, reliable option for lapels and bags.
- Rubber clutch: gentler on fabric and easy to replace; good for large events where pins are handled by many people.
- Safety pin: suitable for wider or heavier designs and for clothing where a post could tear.
- Magnetic backing: lets the wearer attach a pin without piercing fabric. Check the pull strength with the maker for your pin’s weight, and check that the base metal does not interfere.
- Screw-back or locking clutch: for higher-value or ceremonial pins where the loss of the pin would matter.
A detail that matters more than most buyers expect: a single post can rotate. On a pin with a strong directional design, such as an arrow or a flag, a single post lets the pin spin on the lapel. A second small post, or a different attachment, is the typical remedy. Also confirm how the post is attached, because the soldered joint is one of the places that stress shows up first.
FOR BUYERS & DISTRIBUTORS
Ready to spec your metal pins?
Send artwork, size, base metal and backing preferences and we return a design proof and specification. MOQ 50 pcs, free design proof, 12–15 days production.
Veja os broches personalizados para lapelaPeça um orçamento gratuito →
Step 6: Define Size and Thickness
Size is specified in millimeters or inches, and the convention for how it is measured should be written down: the longest dimension of the pin, or the width and height separately. Many disputes arise from “1 inch” meaning different things on a round pin and on an irregular shape.
Some general principles that apply when setting size:
- Detail needs room. Very small pins cannot hold fine text or thin lines, because the metal line must be wide enough to separate the colors and to survive polishing. If your logo has small lettering, either enlarge the pin or simplify the artwork.
- Thickness affects feel and cost. Thicker metal feels more substantial and gives deeper relief, but adds weight and material. Pins for retail and gifting typically justify more substance than pins for mass giveaways. State the thickness you want rather than leaving it to the maker’s default.
- Tolerances. Pins are small metal objects produced by stamping, polishing and plating, and they are not machined parts. Expect a small variation in size, in the range of a fraction of a millimeter, plus minor differences in enamel level and plating shade from piece to piece. Where precision matters, such as pins that must fit a frame, display or packaging insert, agree on an acceptable range in writing before production.
Step 7: From Artwork to Approved Sample
A well-run project moves through a predictable workflow:
- Send artwork. Vector files (AI, EPS, PDF) are ideal. A clean raster image can work if it is high resolution. Include the intended size, quantity range, base metal preference, plating, enamel type and backing.
- Digital proof. The maker returns a proof showing line structure, color placement and plating. Check that every color is assigned, that the text is spelled correctly, and that the minimum line widths look sensible.
- Specification confirmation. The final spec sheet should list: base metal, process, size and thickness, plating finish, enamel type, Pantone references, backing and post type, and packaging.
- Pre-production sample. A physical sample is the only reliable way to judge color, polish and feel. Samples are a paid step, because the tooling and handwork are real costs, and the fee is a reasonable price for avoiding a bulk error. Approve in writing, and keep the sample as the reference standard for the production run.
- Mass production. The approved sample becomes the benchmark for inspection.
- Inspection and packing. Pins are checked for enamel level, plating coverage, polishing marks, alignment of the post and function of the clutch. Packaging, whether individual poly bags, backing cards, boxes or bulk cartons, is agreed in advance.
- Shipment. For international orders, confirm the delivery term. We ship with DDP (Delivered Duty Paid) terms to more than 30 countries, so duties and import clearance are handled as part of the quote rather than left as a surprise at the border.
If you would like to begin with a defined brief, our custom pin design page outlines what to prepare, and you can send your details through the Formulário para citações em broches de lapela.
Common Specification Mistakes (and How to Avoid Them)
- Leaving the base metal unspecified. Different suppliers will quote different materials, which makes quotes impossible to compare fairly. Always state it.
- Treating the sample as a formality. The sample is where color, polish and plating are judged. Approve it only when you have inspected it, not when you are rushed.
- Mixing up pin types in the same brief. Asking for “hard enamel” while sending artwork designed for soft enamel texture, or the reverse, leads to confusion about price and look.
- Ignoring how the pin will be worn. A heavy pin on a thin shirt, or a magnetic backing on a jacket that needs a strong hold, can fail in use even if the pin itself is perfect.
- Assuming the packaging is included. Backing cards, boxes and bags are separate specification items. List what you need.
- Putting too much detail in too small a pin. If the details disappear at actual size, they were never going to be visible. Test the artwork at print size before ordering.
- Not stating the intended use. A pin for retail resale, a corporate gift, an athletic event and a ceremony each carries different durability expectations.
Quick Reference: Specification Checklist
Before requesting a quote, make sure you can answer the following:
- Base metal (brass, copper, zinc alloy or iron)?
- Process (stamped or cast)?
- Size, measured how, and thickness?
- Plating finish (name the finish, not only the color)?
- Enamel type (soft, hard, or none) and any special effects?
- Pantone references for each color?
- Backing and post type (clutch, safety pin, magnet, screw-back)?
- Packaging format?
- Quantity, delivery destination and delivery term?
- Who approves the sample, and by what date?
Perguntas frequentes
What is the difference between brass and zinc alloy pins?
Brass pins are usually stamped from sheet metal, which gives crisp lines and a dense feel. Zinc alloy pins are cast, which allows 3D shapes and cut-outs that are harder to stamp. The right choice depends mainly on the design, not on one material being universally better.
Do I need to pay for a sample?
Yes. Samples require tooling and handwork, so they are a paid step. The sample allows you to approve color, polish and plating before the full order is produced, which is usually cheaper than correcting a finished batch.
Can a pin maker match my brand colors exactly?
Provide Pantone references and treat the physical sample as the final check. Enamel is a different medium from ink or screen color, so a close match is the realistic expectation, and a sample is how you confirm that it is close enough.
What file format should I send for a custom pin quote?
Vector files such as AI, EPS or PDF are best, because lines can be traced precisely. A high-resolution image is a workable alternative. Include the size, quantity and any Pantone colors with the file.
Leitura relacionada: a supplier scorecard for choosing pin makers, quanto custam os broches personalizados e escolhendo os fechos dos broches. Navegar pinos cunhados.
Request a Quote for Your Custom Metal Pins
Wenzhou Hesanqian Crafts Co., Ltd. has produced custom metal crafts since 1996, including lapel pins, challenge coins, medals, keychains, bookmarks and badges, with DDP delivery to more than 30 countries. Send your artwork, target size, base metal and backing preferences, and we will respond with a specification recommendation and a quote.
Request a lapel pin quote ou entre em contato com nossa equipe to discuss your project.